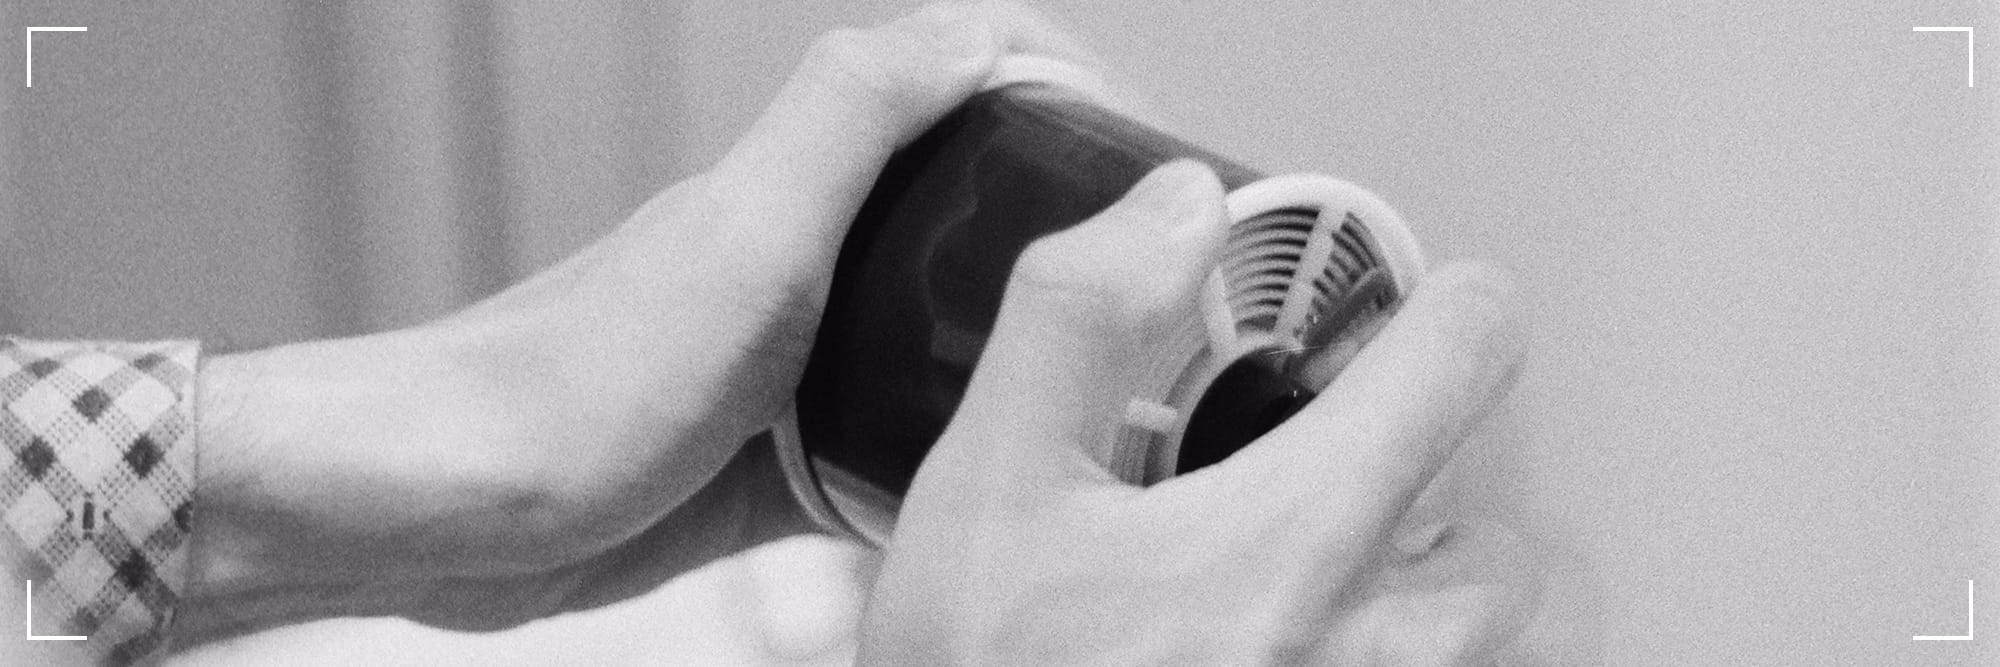
To develop 35mm film at home, follow these simplified steps while incorporating the necessary equipment and chemicals. We will focus primarly on the black and white development process due to its simplicity and lower equipment requirements compared to color film processes.
Step 1: Gather Equipment
• developer (black and white)
• fixer (for stabilization of developed film)
• stop bath [optional] (stops the development process temporarily)
• changing bag (for safe transfer of film from canister to develping tank)
• developing tank & reels (where film is loaded and developed)
• digital thermometer (for ensuring accurate chemical temperatures)
• timer (for precise development times)
• bottle opener & scissors (for opening of film canisters and cutting film)
• beakers/containers (for accurate measurement of chemicals)
• bottles (for chemical storage)
• film clips (for drying film)
• sink or bath: (for rinsing film)
Step 2: Prepare Workspace
Ensure your workspace is clean and free from dust and debris. Set up your developing tank, thermometer, timer and any other necessary equipment within reach.
Step 3: Load Film
Using a changing bag, carefully remove your film from its canister and load it into the developing tank. Ensure the film is securely attached to the reel inside the tank.
Step 4: Pre-Wash or Pre-Soak Film
This step is optional but can help remove any residue from the film surface. Fill the tank with water and gently agitate the film for a short time.
Step 5: Develop Film
Pour the developer into the tank according to manufacturer instructions. Agitate the film gently for the specified duration. Finally, let the film sit undisturbed for the remaining development time.
Step 6: Add Stop Bath & Fixer
After development, rinse the film briefly with water and then add the stop bath to halt the development process. After rinsing again, add the fixer to stabilize the image on the film.
Step 7: Final Rinse
Rinse the film thoroughly under running water to remove all traces of chemicals.
Step 8: Dry Film
Hang your film up to dry in a safe place away from dust and direct sunlight. Film clips or clothespins can be used to secure the film edges.
Step 9: Dispose Of Developing Chemicals
Dispose of the used chemicals responsibly according to local regulations.
Side Note:
Although the DIY/at-home route is relatively inexpensive, buying chemicals in bulk can reduce costs. After developing, you can scan your negatives for digital storage or print them traditionally in a darkroom.
Pro Tip:
Remember that practice makes perfect. Start with simple black and white film to familiarize yourself with the process before moving on to more complex procedures like color film development.

